Creative Techniques: Photography
Creative Techniques from diverse media to use in your digital design projects.
For this installment we’re going to look at traditional photographic and film techniques and how they are adapted for use in creative projects.
Bokeh
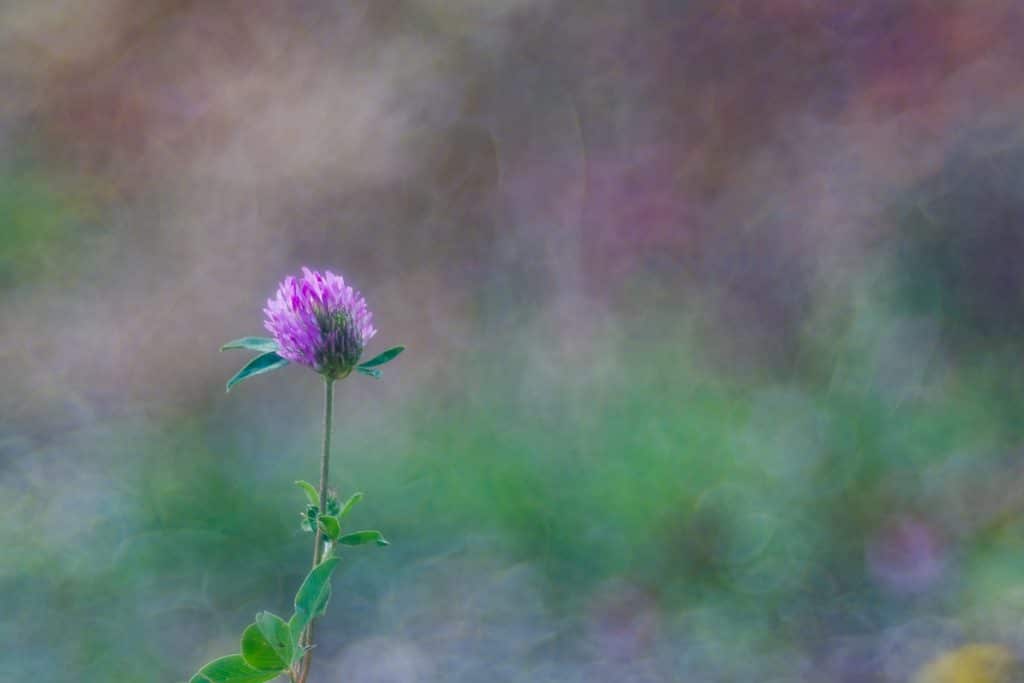
Bokeh is an effect created from an out-of-focus camera lens on points of light. Bokeh is a Japanese aesthetic and comes from the word boke which means “blur” or “haze”. Images imbued with this blurry and color gradated technique often have a soft, ethereal, almost forgetful look to them. The art of bokeh photography involves capturing good bokeh versus bad and having it add beauty to an image.
Today, the bokeh technique can be replicated and enhanced through Photoshop and Lightroom. Bokeh brushes are also available and can be used to simulate the effect too in photography and digital art projects.
In this photography project by Christian Bari we see how the Bokeh effect can be used to create hazy color dappling that appears almost like an Impressionist painting:
In the Octane Renders 3D rendering project, the Bokeh effect is used realistically to simulate the reflection of light on a metallic surface:
Noise & Grain
Noise is the subtle distortion of digital images due to lack of light and or a poor quality camera. Noise has a random dotted appearance made up of a variation in brightness or color. Noise can be broken down into various types, like salt and pepper, gaussian, and film grain.
Most of the time, photographers try to reduce the noise in their images as they can make a photo appear low quality. However, noise and grain can also be used to add an artistic or vintage effect to an image.
Distressed and grunge style images have a subtle amount of noise and grain added. Artists and photographers will use texture overlays to similate a noise or grain effect. Photoshop has a Noise filter that one can apply to add this effect to images.
Images with noise and grain can appear old, weathered, dark or damaged. Poster designers for rock-n-roll bands or photographers trying to capture an ‘Old West’ style image use noise and grain filters. Photographers will even seek out old and esoteric camera brands in order to bring an authentic noise and grain element to their work.
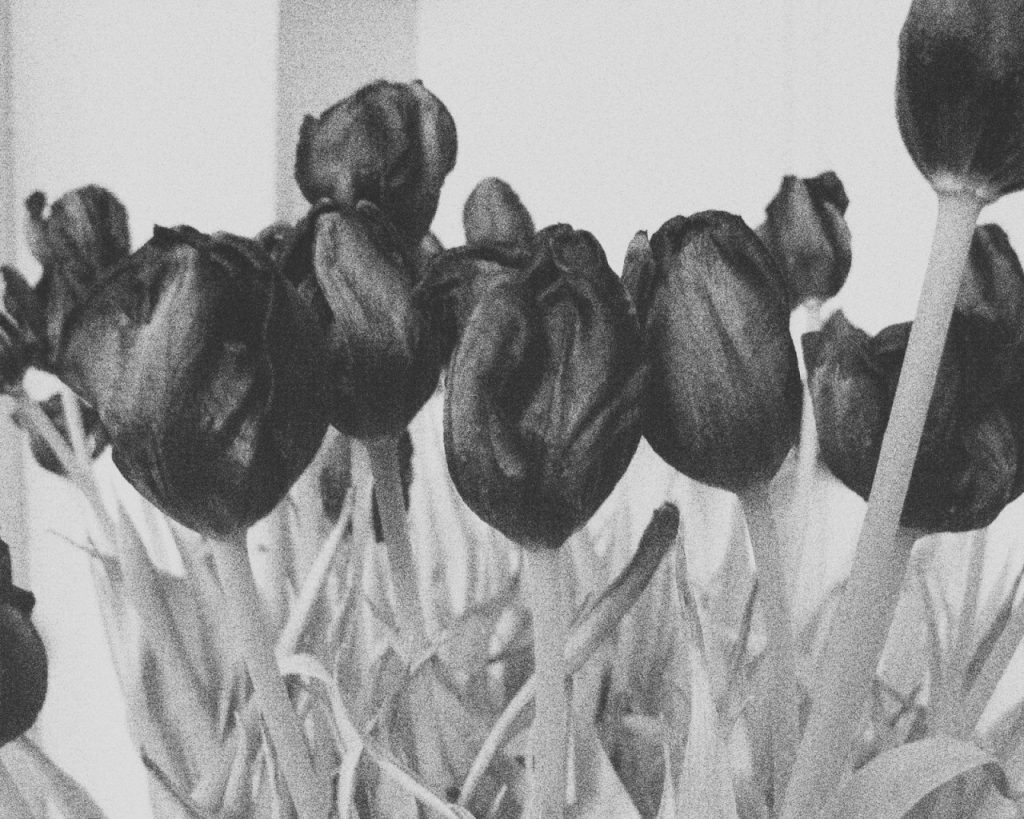
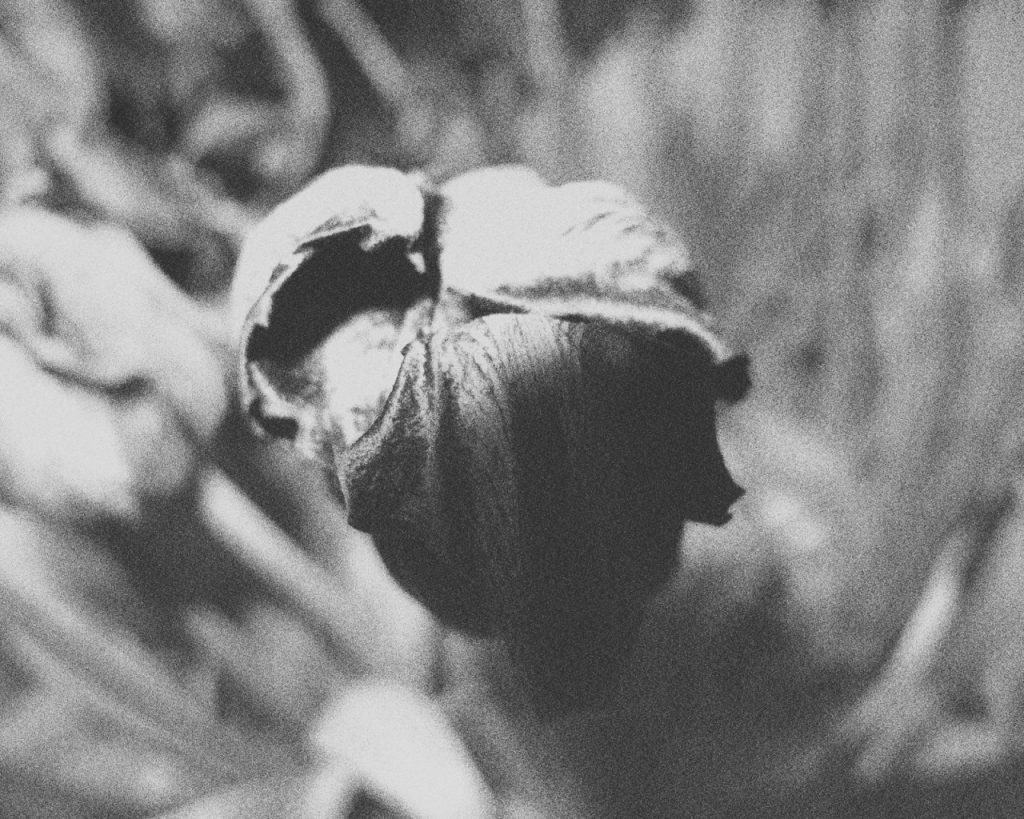
The Tulipa photography project by Kristina Gentvainyte demonstrates how the intentional use of noise can give an image a sense of emotion and nostalgia.
Solarisation
Solarisation was a photo technique popularized by the famous artist Man Ray. Simply put, with solarization dark areas appear light and light areas appear dark and the resulting image has a kind of unusual halo or banding effect called the Mackie line. The effect was first created via extreme overexposure of the camera negative and first seen in scenic images taken in direct sunlight — this is why the effect is called “solar” isation.
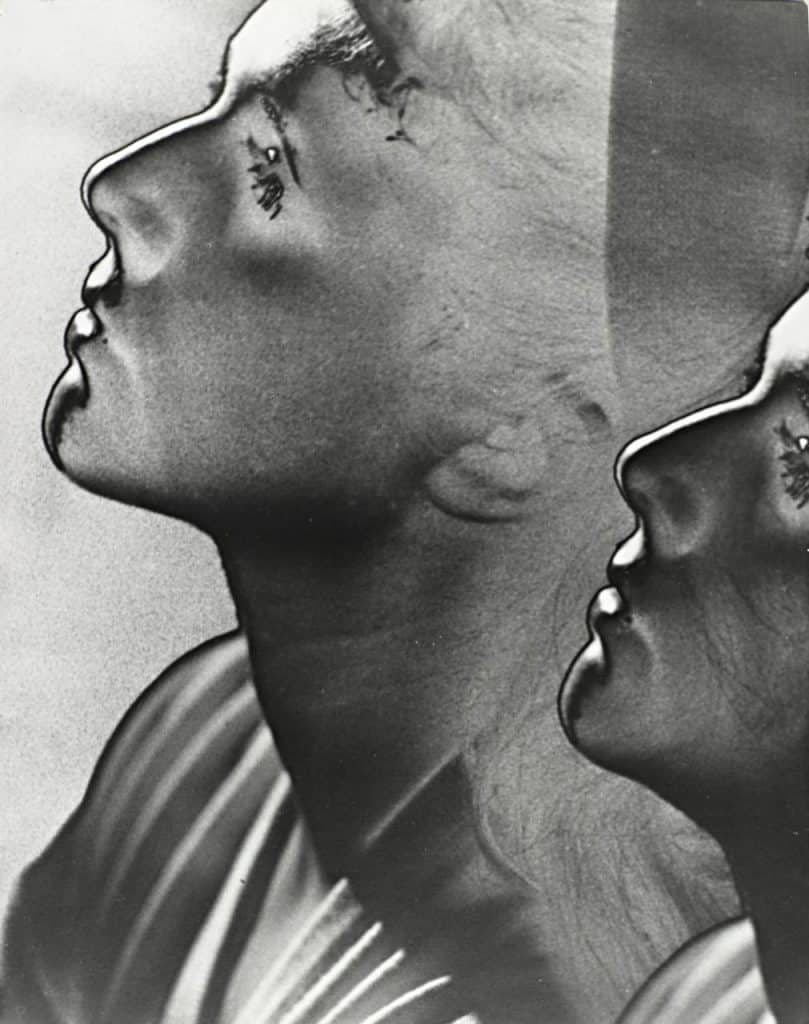
Solarised Double Portrait by Man Ray
Solarisation is one of the more artistic photo and film techniques because it requires quite a bit of manipulation through a variety of methods to achieve certain specific results. Different color lighting, contrast, and camera placement all yield different results. In film photography, solarisation is even achieved through chemical means and exposing the film to actinic light during development.
Avante-garde fashion photographer Erwin Blumenthal also popularized the solarization technique in the 1940s and brought it to the mainstream. Here is an image from Popular Photography at the time by Blumenthal:
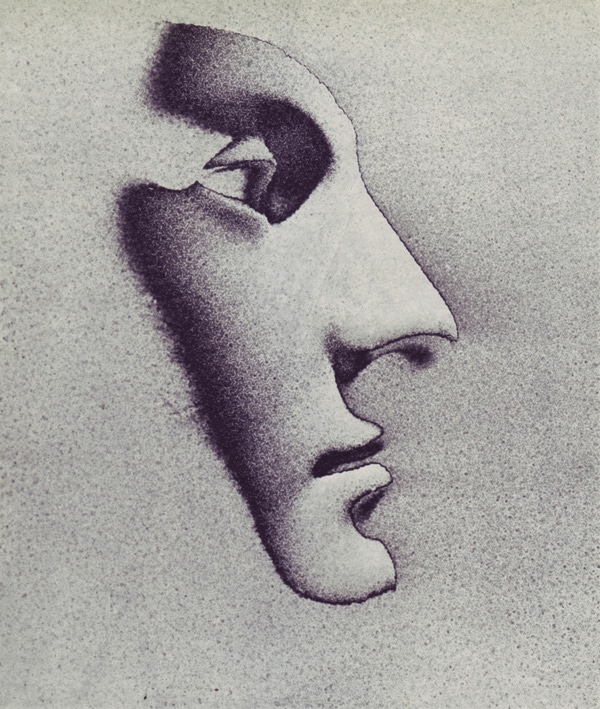
by Erwin Blumenthal
“Diana of Houdon, a solarized negative of a broken plaster cast of Blumenfeld’s pet model, is here subjected to violent temperature changes after development, adding reticulation to solarization.”
Today achieving a solarization look is much easier with Lightroom presets or through one’s own manipulation of an image in Photoshop or Lightroom. The Solarize Lightroom Presets from our interviewee’s Creative Presets are a great place to start to achieve the solarisation effect:
Double Exposure
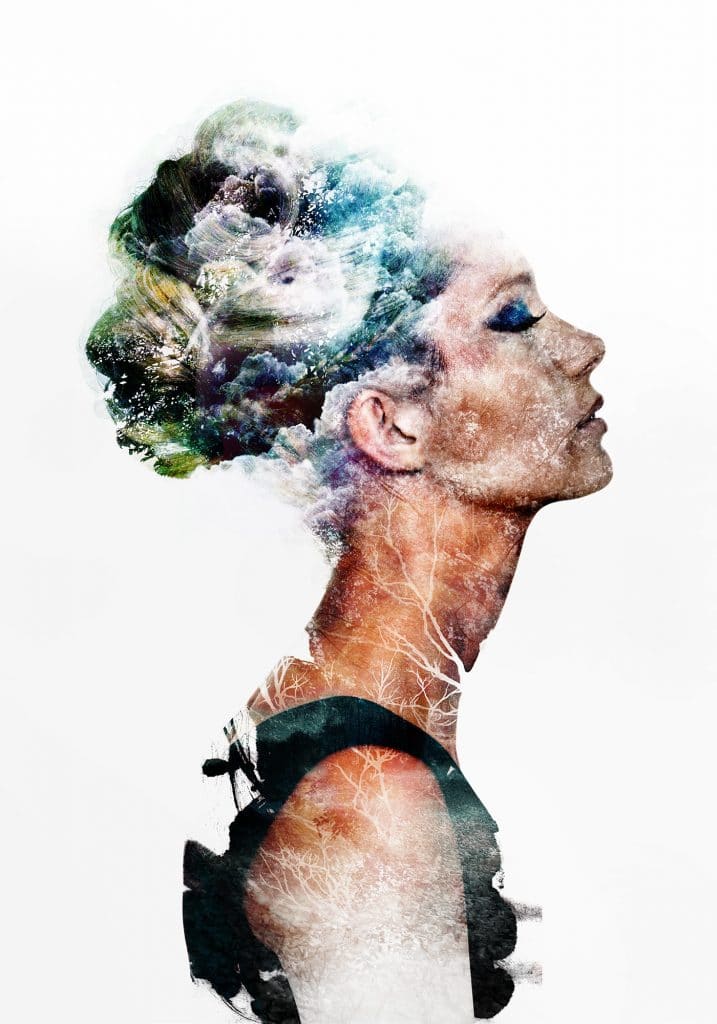
Double Exposure has been quite popular as a photo, illustration, film, and motion graphic effect for the past few years, mainly because it has become much easier to replicate the effect in applications like Photoshop.
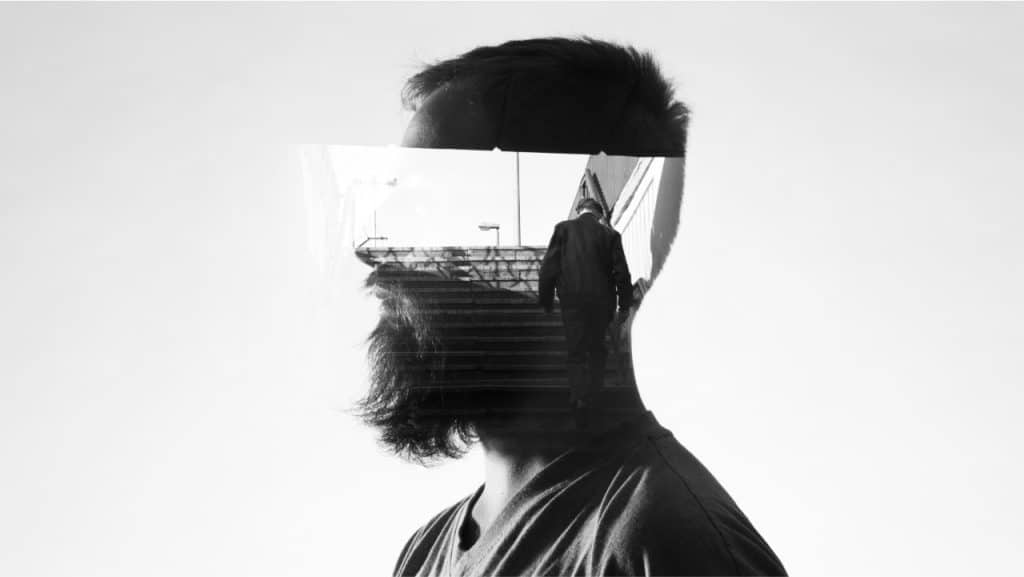
Double exposure or multiple exposure is the superimposition of two or more images to create a single image. As an analogue technique, the film shutter is opened more than once to overlay a different image. Sometimes double exposure used to be a happy accident that happened when one mistakenly used film twice. To achieve more nuanced artistic results with the technique, different exposure times are used, with careful attention paid to not overexposing the film.
Whether digital or analogue though, the effect can be used to create a variety of visually arresting results. In order to make a successful image artists must pay attention to the darkness, lightness, and general composition of each image and how they will potentially interact with one another. Sunbathing by Thomas Barbèy really captures the potential of this technique:
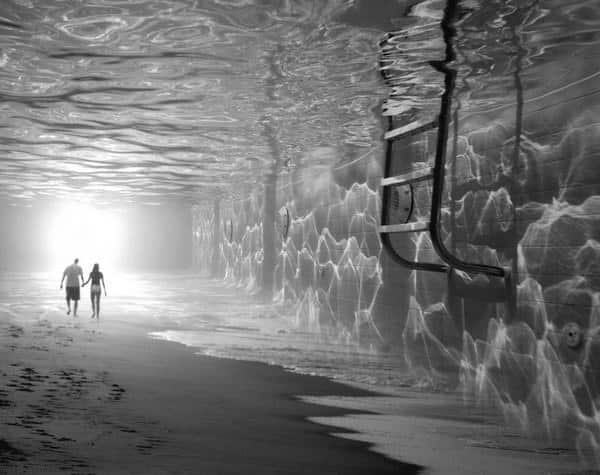
Sunbathing by Thomas Barbèy
A double exposure image works particularly well with portraiture. Often the image that is masked by the portrait silhouette is used to present a visual narrative or concept that relates to the person’s character. A popular combination is a portrait and a nature scene, presenting a kind of corporeal landscape idea. In this Wacom advertising campaign the woman’s silhouette and a forest and river scene are fused with the double exposure effect:
If you’re new to photography and interested in trying out the technique, you may want to try the Double Exposure action from Beto which makes it easier to create an image of this kind.
In the next installment of this article series we will explore creative techniques used in printing and how those are applied in new ways today.

Margaret Penney is an experienced Brand Designer and Art Director as well as a teacher, designer, writer, and new media artist and Founder and Principal Designer of The Design Craft and 9& Studio.Read more articles by Margaret.
ENROLL IN AN ONLINE PROGRAM AT SESSIONS COLLEGE:
